
Long Hair to Buzz Cut Transformation: Your Complete Step-by-Step Fade Guide
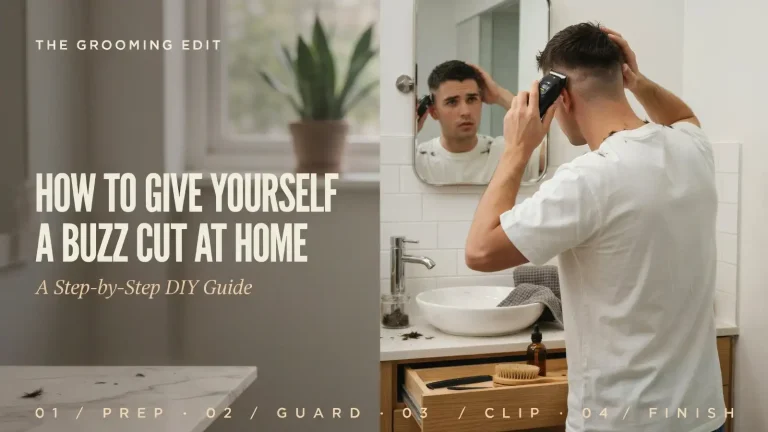
In this video, I’ll guide you through the process of cutting your hair into a buzz cut, starting from longer hair and transforming it into a fresh, clean look. Here’s how you can do it:
Step 1. Start Your Long Hair to Buzz Cut with the Number 1 Guard
- Begin the process by attaching the number 1 guard to your clippers and setting the lever to the open position.
- Use the clippers to remove the bulk of your hair. Start from the sides and move to the top of your head, cutting off the majority of the length.
- Make sure to work in different directions to ensure an even cut. This will help ensure no hair is left behind, especially if it’s been styled in a certain way for a long time.
Step 2. Create the First Guideline for Your Fade
- Now, take your trimmers and make the first guideline just above the corner of your eyebrow, using a slight downward angle.
- Carefully work around your entire head, ensuring the guideline remains consistent.
- This step sets the foundation for the fade, so it’s important to keep the lines clean.
Step 3. Add the Second Guideline to Begin Your Fade Process
- Switch to the no guard setting with the lever open, and create a second guideline about one inch above the first one.
- Move around your head to ensure this second line is smooth and even, blending naturally into the first guideline.
Step 4. Use the Half Guard for the Next Guideline and Fade
- Attach the half guard and keep the lever open. This next guideline should go up about three-quarters of an inch to one inch above the second guideline.
- It’s crucial to keep the guidelines evenly spaced for a smooth fade as you continue to blend your hair.
Step 5. Fade Out the Hard Line Between the Guidelines
- With the lever closed on your clippers, start to fade out the hard line between your first and second guidelines.
- Use a flicking motion with your clippers to soften the line and make the fade look seamless. This step requires some patience, but it’s essential for a smooth transition.
Step 6. Skin Fade the Bottom Section Using Foil Shavers
- Now, use foil shavers to achieve a clean skin fade on the bottom portion of your head.
- Gently go over the area from the sides and back of your head, making sure it’s smooth and even.
- Be extra cautious if you have sensitive skin, as foil shavers can sometimes cause irritation.
Step 7. Blend Your Beard Fade for a Neat and Clean Look
- For the beard, start with the no guard setting and lever open. Begin at the bottom of your ear and gradually work your way upwards, inch by inch.
- Gradually close the lever as you go higher to ensure a smooth transition.
- Once you’ve reached the faded section, use the trimmer’s corners to blend the beard with the skin fade.
Step 8. Clean Up the Neckline for a Sharp and Fresh Finish
- Use the trimmer and foil shavers to clean up the hairline around your neck, removing any stray or scraggly hairs.
- This will help define your neck and make your haircut look sharper and more polished.
Step 9. Shape and Sharpen Your Hairline with a Razor
- To perfect your hairline, use a razor with shaving gel to carefully shape it.
- Take your time to create a natural yet clean hairline, ensuring it looks sharp without being overly defined. The goal is to keep the hairline looking fresh but still natural.
Step 10. Final Touches: Check for Evenness and Clean Up Any Mistakes
- After the initial cut, go over your head once again to ensure everything is even.
- Double-check the fade from all angles to make sure no spots are missed.
- If needed, clean up any rough areas to ensure a smooth, even finish. Don’t forget to take care of your skin, especially if it’s sensitive.
That’s it! You’ve now got a clean, professional-looking buzz cut that’s fresh and well-blended. Be sure to keep practicing to improve your technique, and enjoy your new hairstyle!

Daniel Vance
Daniel Vance is a grooming writer who focuses on men’s buzz cut styles, modern fades, and low-maintenance haircuts. At buzzcuthub.com, he publishes detailed guides and hairstyle breakdowns to help readers understand different buzz cut variations.
His articles explain how to choose the right buzz cut based on face shape, hair type, and personal style. Daniel also shares simple maintenance tips and step-by-step haircut tutorials. His goal is to make men’s grooming practical, easy to follow, and accessible for anyone who prefers a clean and sharp look.